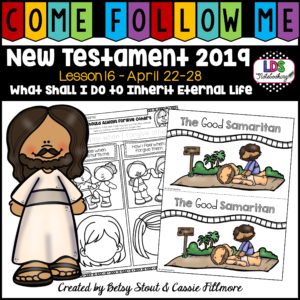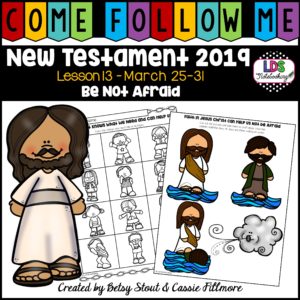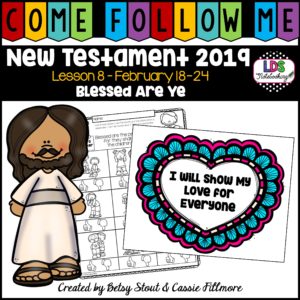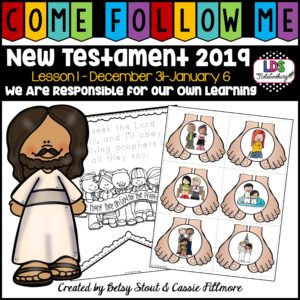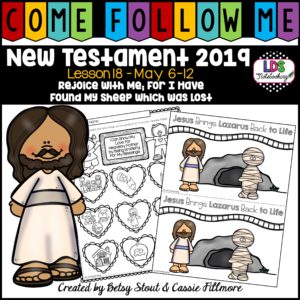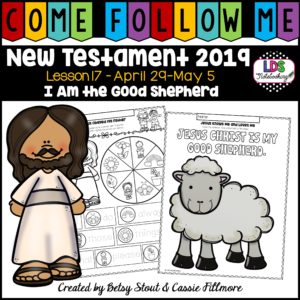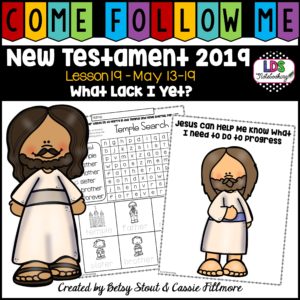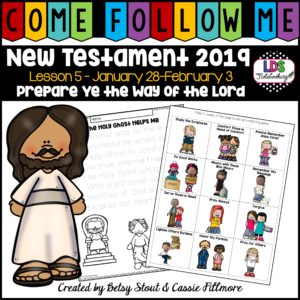
Create Notebooks for Your Primary Class Using the Primary 3 Manual
Supplies I Used
- printer
- white 20 lb. paper
- white 24 lb. paper
- card stock
- paper trimmer
- scissors
- Pro-click binding machine
- Pro-click spines
- glue sticks
Assembling Your Notebooks
Alternative Ideas for Notebooks
Before I had a Pro-click, I used binders, composition notebooks, sketch pads, or papers using rings. Any of these would work great for putting together the kids notebooks.
I do want to mention that my plan is to fill one page 8.5 x 11 sheet of paper for each lesson. So make sure the paper/notebook you choose is at least that size.
Just a Few Others Things to Know and Consider
I’m planning to add the activities on a weekly basis or sooner. Most likely I’ll be a few weeks ahead. I just got called, so I’m just getting started and should have a few more lessons done soon. If you have a specific request for a lesson, please feel free to contact me and I’ll see what I can do.
I’ll be keeping the lessons for the kids. They will get them at the end of the year. If there is a handout mentioned in the lesson that the kids should take home, I’ll most likely add one to the activities in that weeks set.
I’ve found that construction paper is not a good paper option to add mini-books too. Construction paper is very light weight paper and can’t really hold the weight of the mini-books. It tears easily and just plain… awful, in my humble opinion 🙂
You can find the Primary 3 Manual here.
If you want to, you can share with me how you put your notebooks together and I’ll feature them on my blog so others can see other ideas.
I hope these work nicely for your class! Enjoy!

