
How I Put Together My Primary 2 Notebook
I just want to thank everyone who has purchased the Primary 2 Notebook! The response has been so amazing and I’m seriously so humbled.
I have been asked to show how I put together the notebooks for my class, which I’m happy to do.
Supplies I used to put the notebooks together
You don’t need too much for your notebooks. The binding machine is obviously only a recommendation. I’ve had this binding tool for about 10-12 years and it’s been great to have for our homeschool. You can also just print them off and put them in a small binder or just hand out the pages each week and don’t use it as a notebook at all. Do what works best for you!
- copy paper
- card stock (for back cover)
- 12 pocket expanding folder
- Pro-Click binding machine
- Pro-Click spines
- printer
Printing the notebooks
When I created the notebooks for my class, I copied on the front and back of the pages. Looking back, I would have not done this. The kids like to have the back side of the pages to color on. I’ve added some blank pages to the back of the book for the kids to color on. It looks nice when the book is open to have it look like a workbook, but the empty pages are more practical for little ones. So my suggestion is to copy on just one side. But if you really want to print on both sides, use 24 lb. paper. Otherwise, the paper will be too thin and you’ll see the print from the previous page. I used 24 lb. paper and you can still see the previous page, but it’s not too bad.
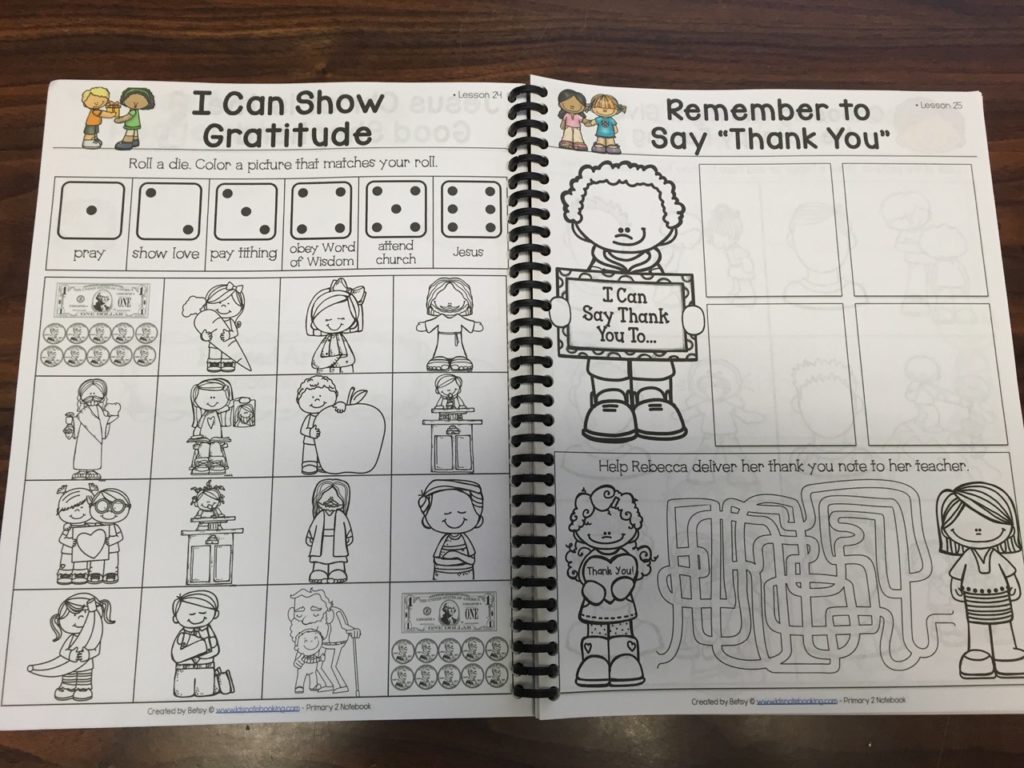
Binding the notebooks
I already touched on this, but I wanted to show you why I chose the Pro-Click binding machine. It’s pretty great!
If after you put your books together, you want to add something else, no worries! Just open the spine up, and add more pages. If you’re a homeschooler or someone who likes to keep a planner or cookbook that you can continue to add to, you’ll really like this binding tool.
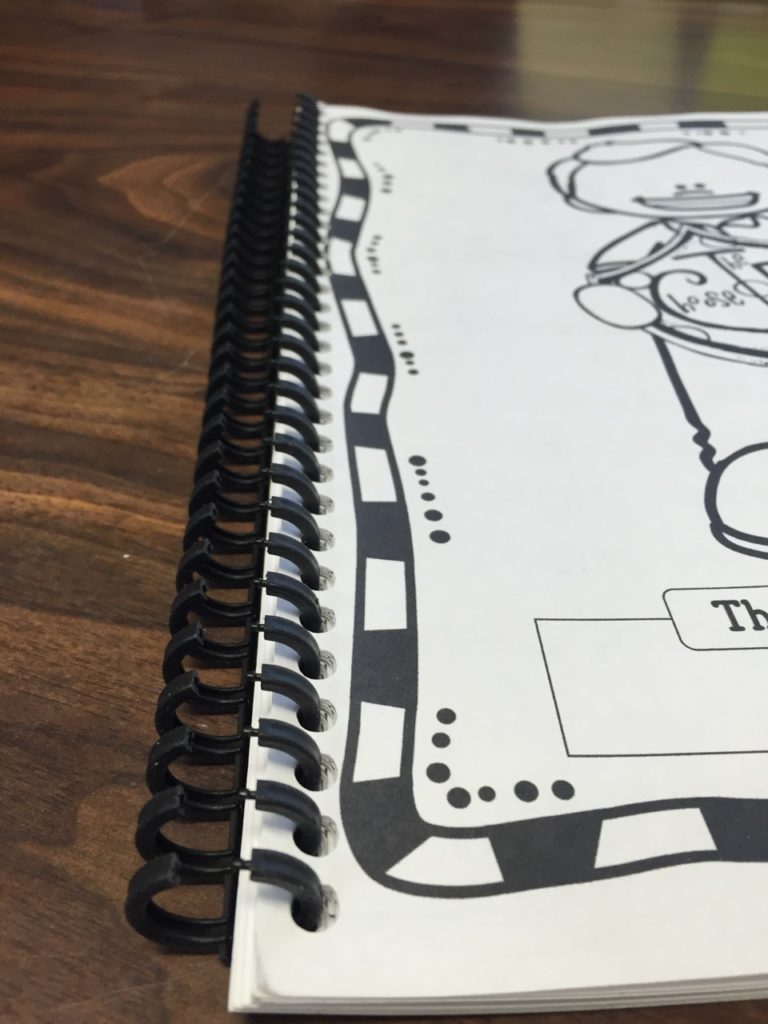
Then just close the spine up, and you’re good to go! Yeah, I really like this tool and have used it SO much over the years!
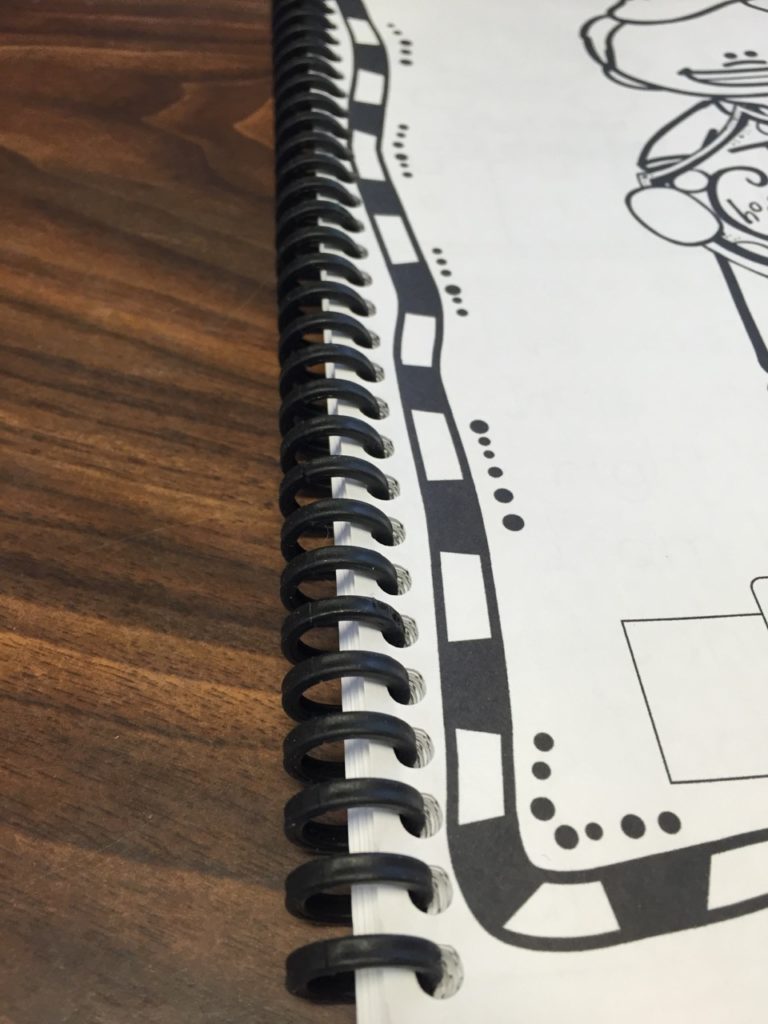
I use a piece a card stock for the back cover to keep it a bit sturdier.
Organizing the lesson helps
I like to have everything prepared way before my lessons, so I personally print everything off before the first of the year, or whenever I’m called to a new class. Once I have everything printed, I cut out anything I’ll be using in the lessons, and put the small pieces in to zipper bags.
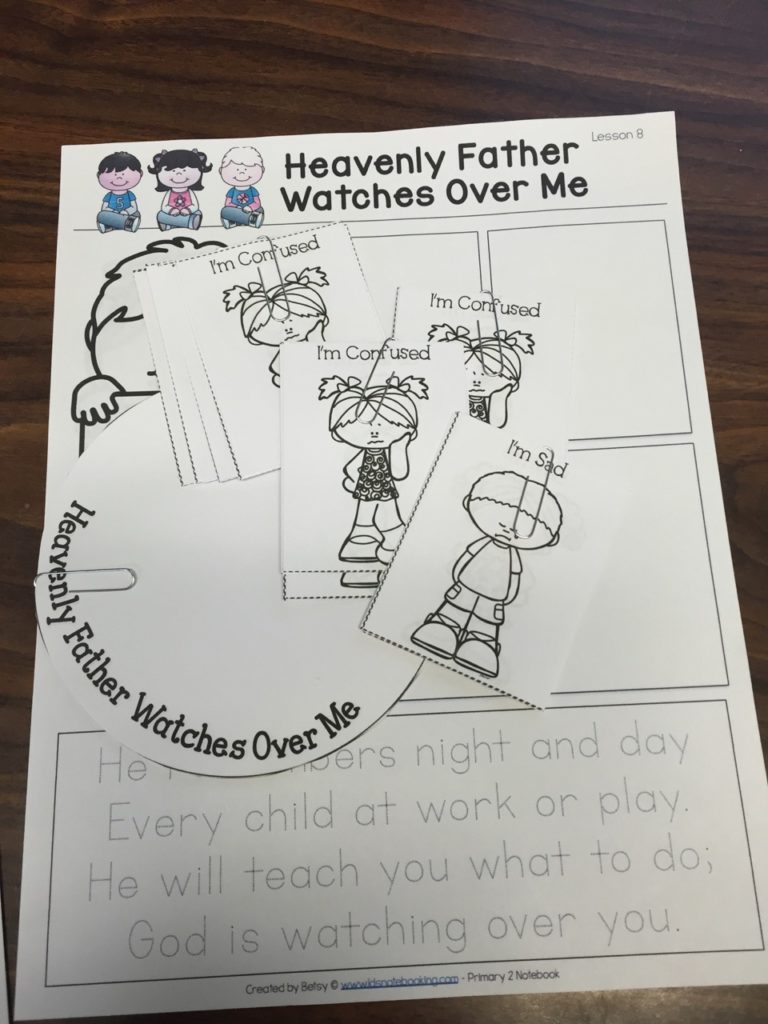
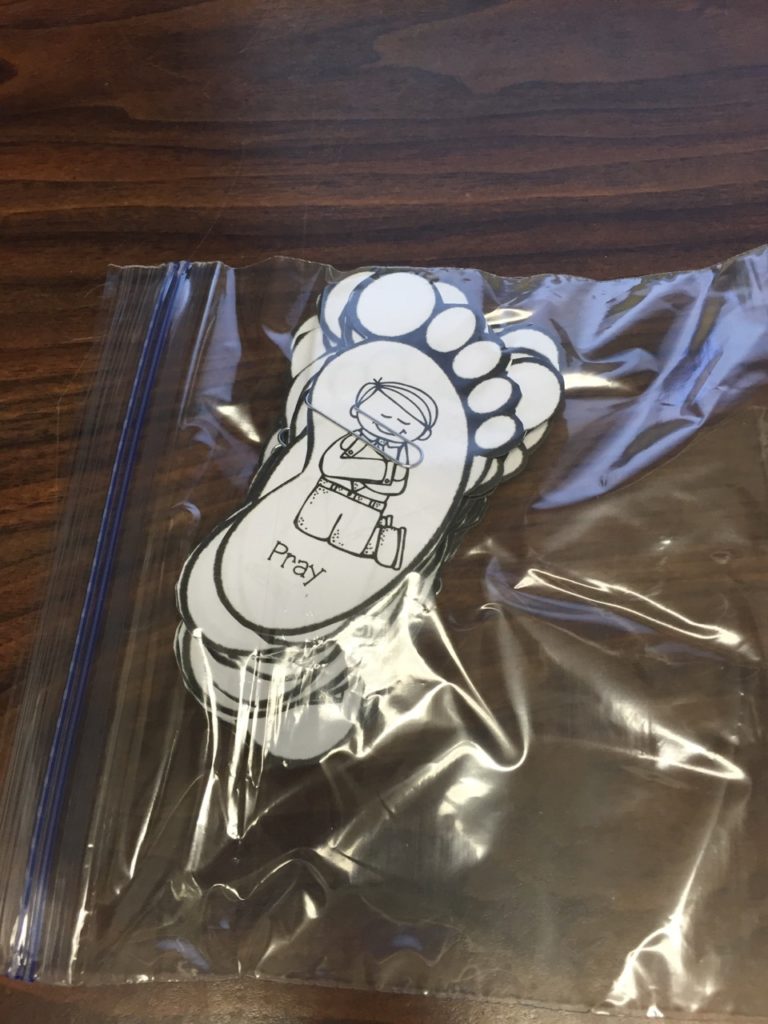
After I’m finished with all the printing and cutting, I add all the lessons to a 12 pocket expandable folder. I put 3-4 lessons in each pocket and paper clip each lesson together.
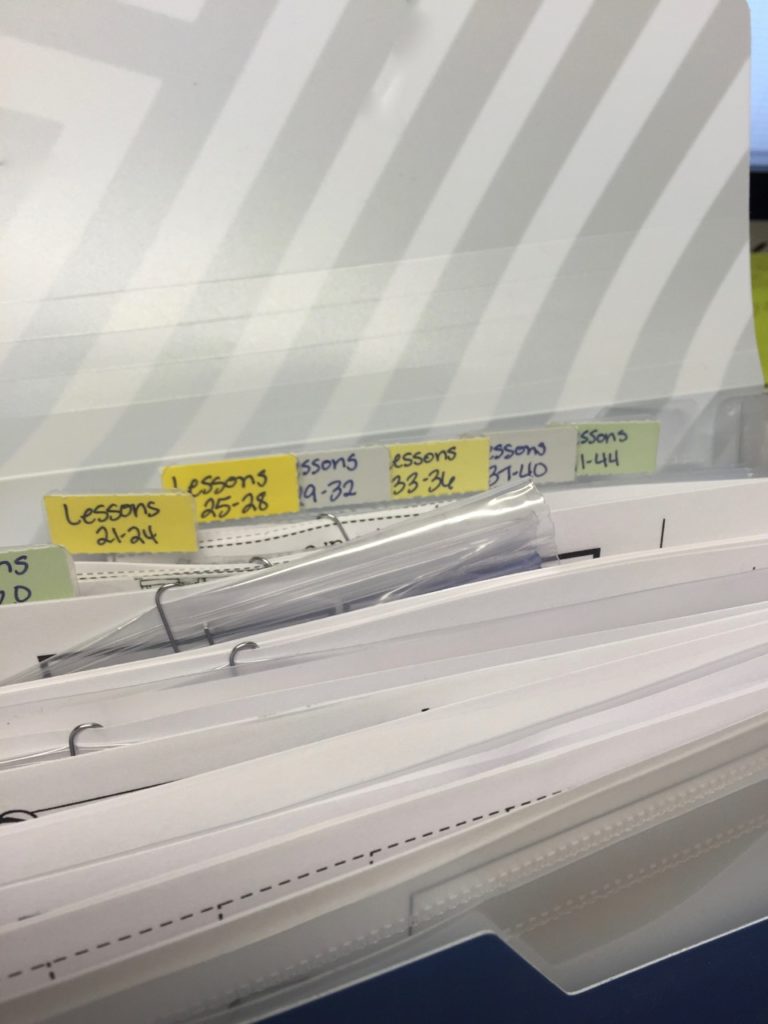
Now on Saturday night or Sunday morning, all I need to do is grab the lesson helps and put them in my primary bag.
What I bring to class with me
I keep a few things in my bag with me all the time.
- crayons
- colored pencils
- glue sticks
- paperclips
- dice
- chalk
- eraser
- magnets
I think most of these are pretty self explanatory. But some might ask why I keep paperclips and dice. I keep paperclips in my bag in case one of the pages is a spinner page. I’ve come to church forgetting those darn paperclips and I have to figure something else out. Not easy to do with 10 five year olds wanting to play with their spinners! So I just keep a little bag of those in my bag.
I keep the dice in there for the same reason but I also keep them in my bag because dice make everything a game! You give each child a number and roll the dice to see who will answer a question. The kids get a kick out of it. I have to put them away though if it’s too much of a distraction from the lesson. I usually wait until the end of lesson though and use them with enrichment activities.
What does my class think about their notebooks
Let’s just say that when we get into class, one of the first things I’m asked, (usually after what treat I brought) is did I bring their books. They look so forward to pulling the books out after the lesson. I do wait until I’m finished with the lesson to pull them out. I only have 3 girls this year (last year I had 10 kids) and we have plenty of time to work in our books at the end of class.
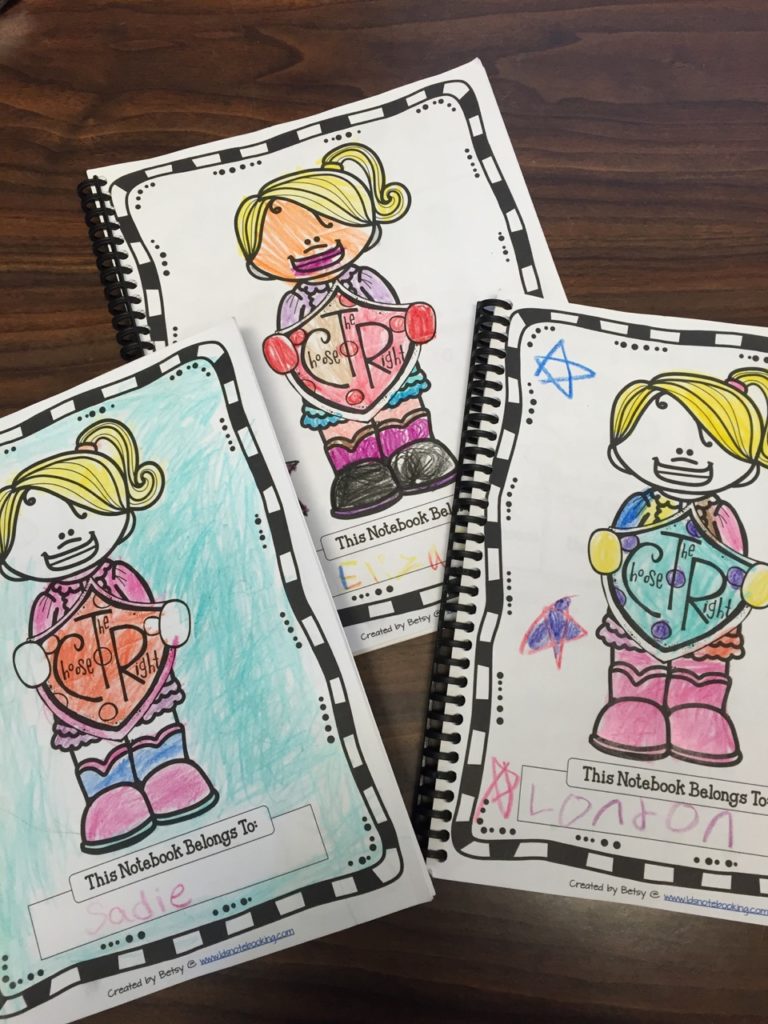
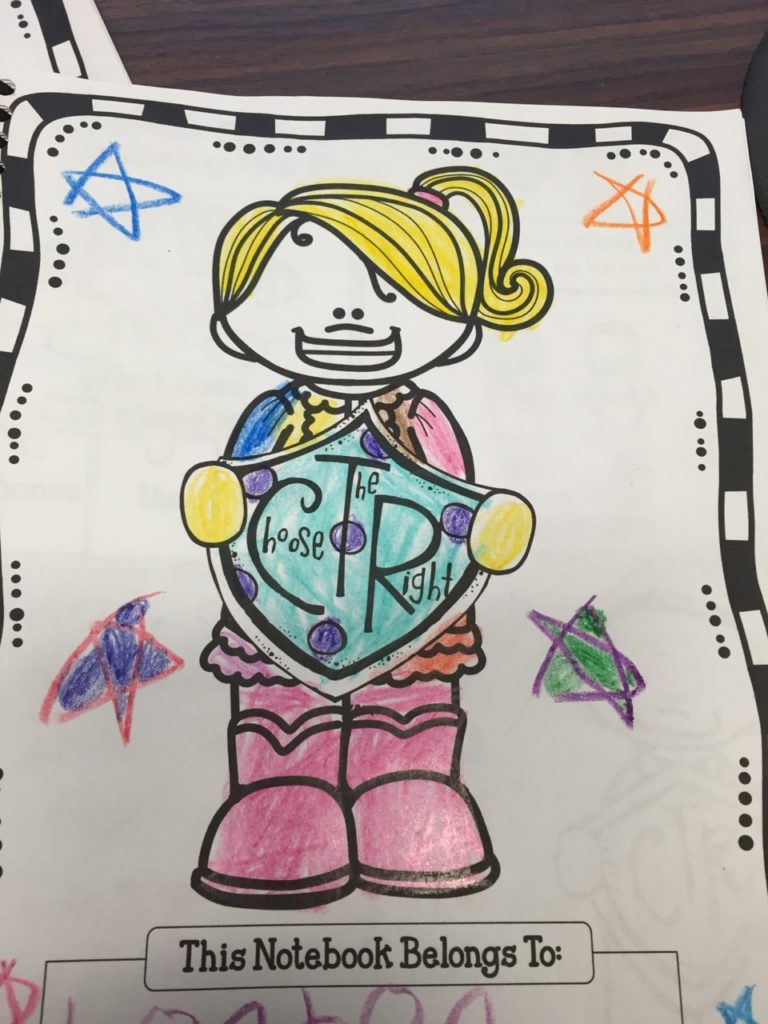
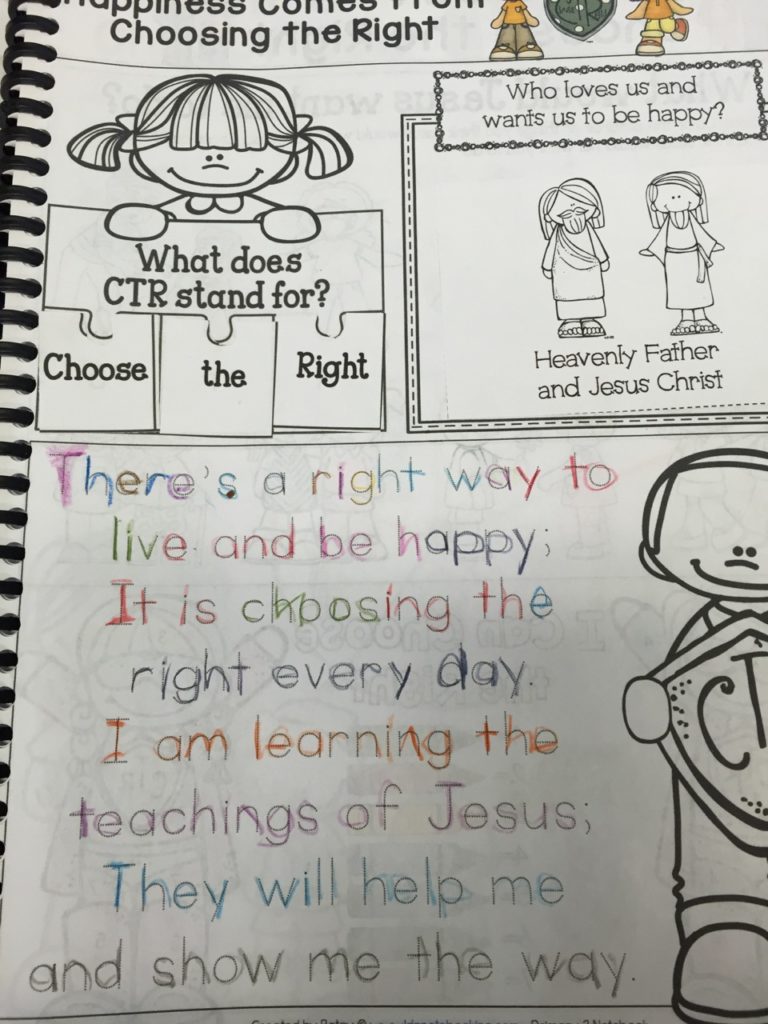
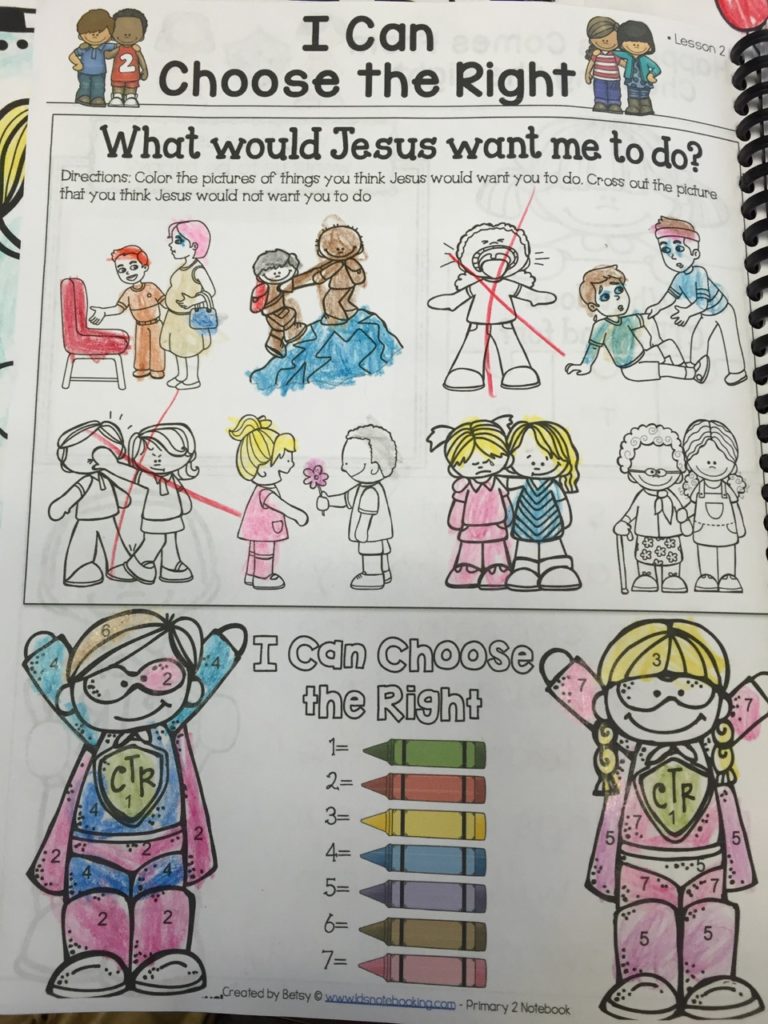
I hope those of you who have purchased the notebooks find this helpful. Please don’t hesitate to ask me anything else you’d like to know.


emilyshipton404
Just purchased the notebook and can already tell it will be the best $10 I ever spent! So excited to put this together for my class this year! Thank you for putting something so awesome together!
Sonia StLaurent
Sorry i am not understanding how to use a paperclip as a spinner? It sounds like a great idea if i could get it figured out!! Love, Love, Love your books. Thanks for sharing your talent with us but keeping the cost at a easily affordable amount.
Betsy Stout
Sorry, I just saw your comment! The way you use the paperclip as a spinner is to lay the paperclip end on the center dot of the spinner and then put the point of a pencil on the dot. Have the children flick the paperclip to spin it and the pencil will hold the paperclip in place. I hope this makes sense. 🙂 Good luck and thank you so much for your purchase!